Friday, July 11, 2014

More Summer Lovin'

Here's my second card for the CAS-ual Friday Challenge (CFC133)  Remember the theme is Summer Lovin' and the requirements are:
Clean and Simple...
Use hearts...
Use summer colors...

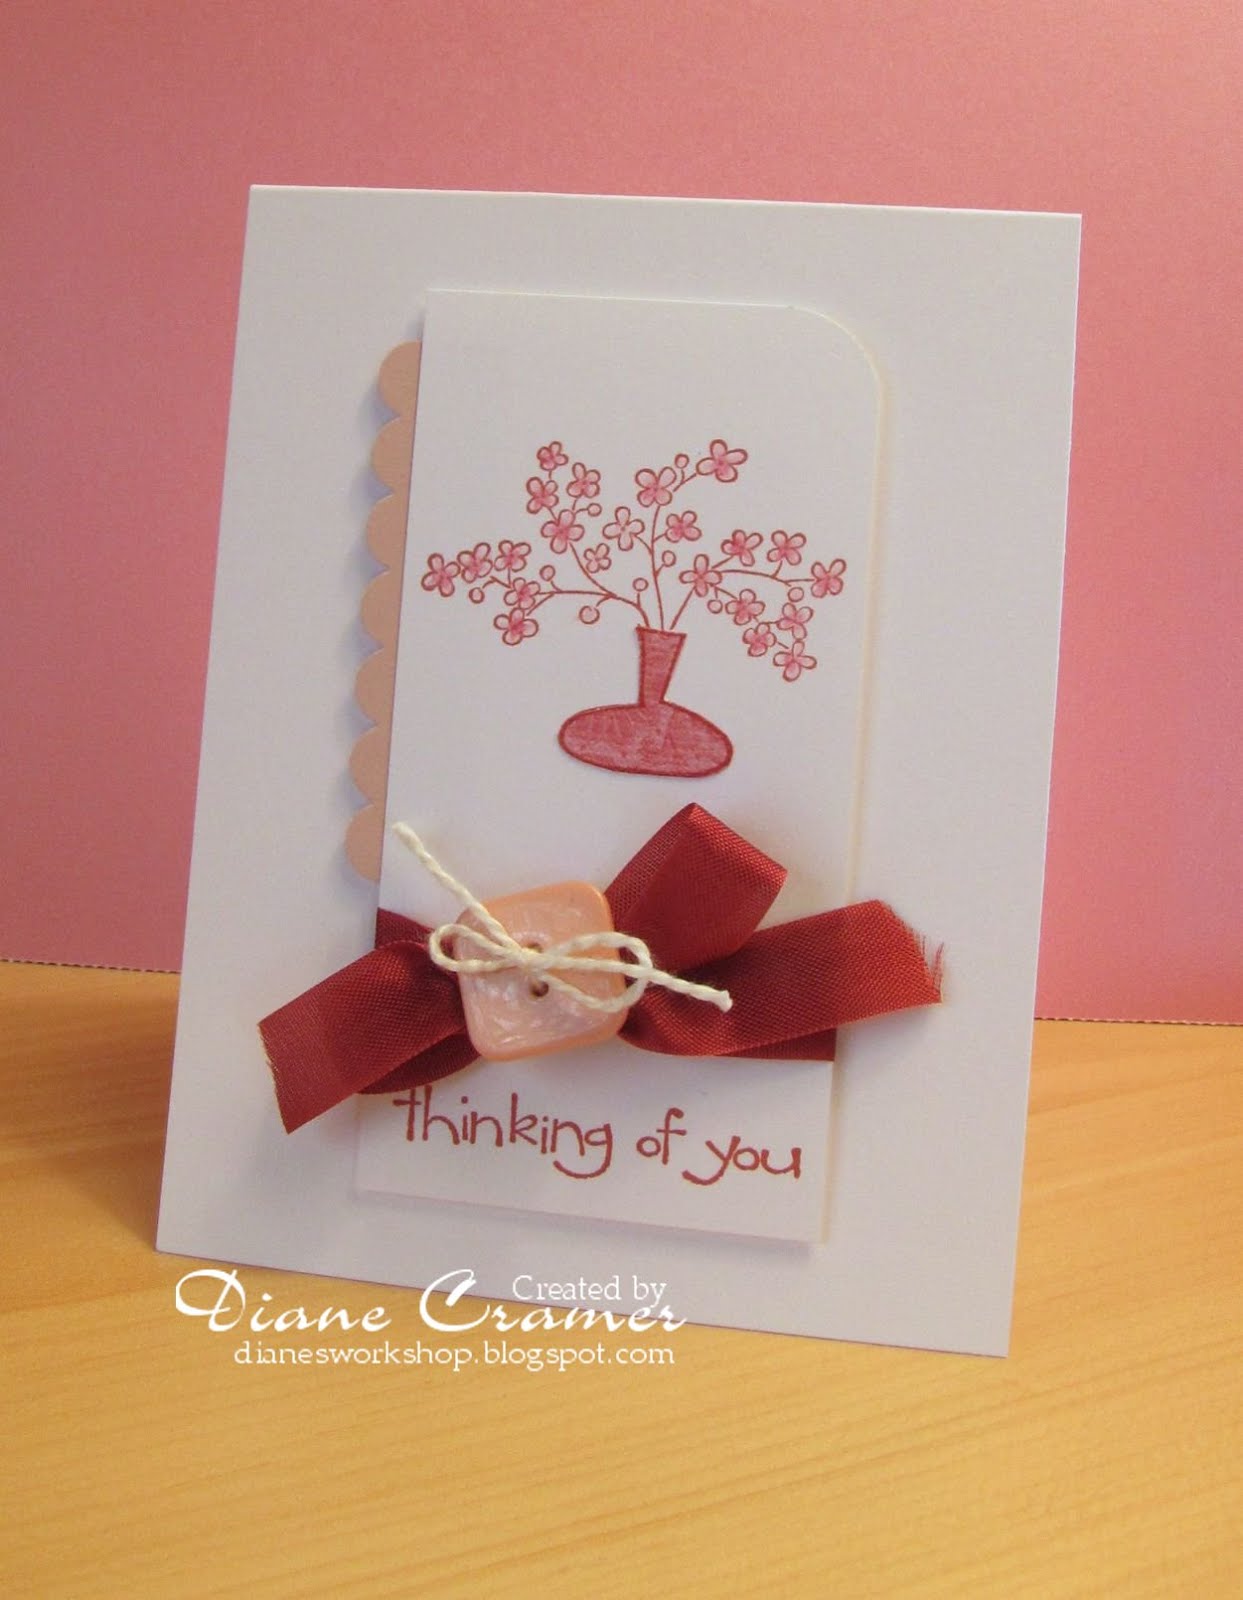
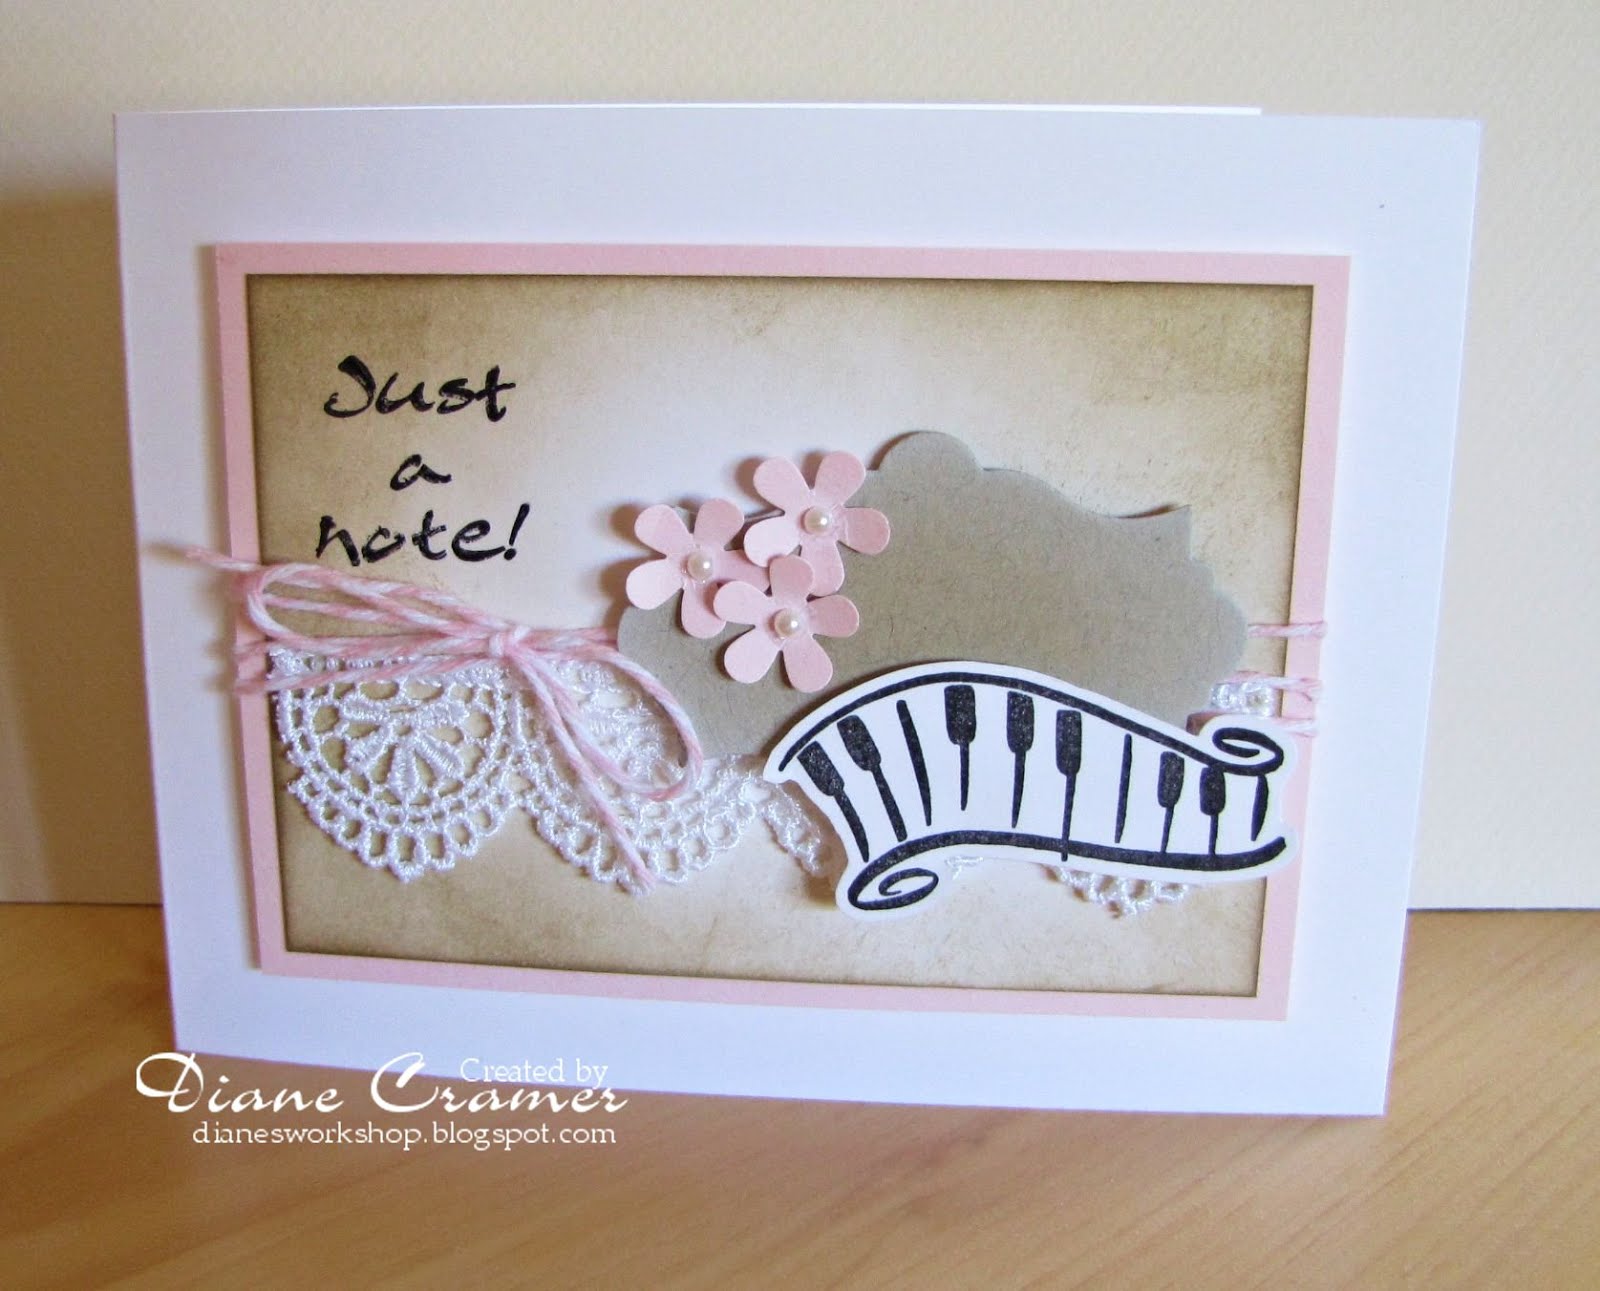
This card is also done with Soft Sky paper and an Impression Obsession die.


I love this die cut and I've had the die for ages and never used it.  So that makes it NBUS!  That's Never Before Used Schtuff.  Thanks, Darnell, for giving a name to all that schtuff.  I promise to work on my mountain of it.  The die cut panel is shaded with ink and sponges and the panel behind is shaded with markers.

Stay cool!

Summer Lovin'


That's the subject for me today.  The CAS-ual Friday Challenge (CFC133) this time is Summer Lovin' and the requirements are:
Clean and Simple...
Use hearts...
Use summer colors...

For me, water is a summer color.  Cool aqua.  Ahhh...to be at the lake right now!  It'll never happen!

So next best is cool aqua colors, accented by the colors of my roses and daylilies.  Here's what I created with Soft Sky paper from SU.

For this the wreath is my heart.  It is stamped on vellum, embossed in white, and colored with markers on the back of the vellum.  The banner is also vellum, and cut and shaped by hand.  No extra tools there!

There you have it.  Have a great day! 

Wednesday, July 9, 2014

Good morning everyone!  I love when the mist fills the valley in front of my house.  Unfortunately it usually moves by the time I get my camera!  That happened this morning...rats!  Still, it was pretty.


Here's my latest patriotic card for A Scrap N Place...


This was a fun card to play around with...and that's just what I had to do! ;)  I changed the backing paper, changed the diecut paper...twice!  I'm kind of fussy about color, and it just wasn't working at first.

The star dies are from Sweet n Sassy Stamps and the patterned paper is from the "Anchor" collection by Authentique.  The greeting is from Technique Tuesday.  Since my cards for the store this month will all be suitable for Operation Write Home, and hence very mailable, there won't be a lot of bulk, like big bows and gems.  Those don't go thru the mail very well, alas.

Hope you enjoy this one...and have a wonderful day!

Wednesday, July 2, 2014

Let freedom ring!


I love red, white and blue!  And I got a brand new stamp set from Technique Tuesday on Monday that I decided to use for this card.

So, how did I make this one?  I started with a navy blue A2 card base.  The red star paper was cut 4 x 5-1/4 to leave a border.  Then the fun began.  I cut two flourishes from the Die-namics Fancy flourish die.  After playing around with how to arrange them, I traced off the center line with pencil onto the red star paper, then cut on the line and glued the sheet to the card base.  I trimmed the flourishes where they overlapped and attached them along the curved line of the red paper.

Next I cut stars with the Sweet and Sassy star dies and stamped the images from Technique Tuesday's My Hero set on the diecuts.  They're attached with dimensionals.  The sentiment is also from the My Hero set and is heat embossed.

This card is very mailable! No extra postage charges.

I guess that about covers it...  Happy 4th!

Supplies:
Navy and white cardstocks
Patterned paper from Authentique: Pride collection
My Hero stamp set from Technique Tuesday
Star Dies from Sweet and Sassy
Flourish die from MFT Die-namics
Embossing powder from WOW

Sunday, June 1, 2014


I have to apologize for not posting my usual Wednesday post last week.  My mom was put in hospice week before last and she died on Monday (Memorial Day).  I've been out of town a lot and distracted when I wasn't.  Top that off with a car breakdown on my way to Denver last week...a permanent breakdown...and you'll get a picture of the last couple of weeks for me.

Enough of that...here's a new card for you.

This was definitely a delight to make!  I've taken the Watercolor for Cardmakers class at Online Card Classes recently and watercolor was definitely on my mind for this one.  And I used the same Penny Black stencil and stamp that I've been using this month.  

For this I inked the stencil with Distress Inks...Spun Sugar, Worn Lipstick, and Picked Raspberries.  I just kinda smeared the colors on the pads all over.   Then I spritzed it really good and put my paper down on it and allowed it to take up the color.  A couple of seconds is all you need.  Then I blew it dry with my heat gun.  

I used the stamp positioner to position the stamp over the flowers, stamped in versamark, and embossed in bright gold embossing powder.  A pale pink card made the most impact for the background so that's what it got!

The greeting is stamped in Picked Raspberries and layered on gold glitter paper.

Supplies:
Pink and white cardstock
Penny Black stamp and stencil
Versamark ink and bright gold embossing powder
Distress inks


Friday, April 11, 2014

It's spring...time for Butterflies!

I used the same lovely butterfly from Impression Obsession again on this week's card. 


I am loving working with that die.  It cuts beautifully, the two layers line up perfectly (well, as good as my old eyes work anyway!).    The circle is cut with a Spellbinders circle...use your choice of size.

Supplies:
White and black cardstock
The golden brown is the reverse side of the Glitz designer paper I've been using for the last couple of cards, the Chevron is Hippity Hoppity paper from Echo Park...and is mounted directly to the card front.
The bow is tied around the top cardstock layer only...from the circle to the edge.  It is crinkly paper ribbon from May Arts that looks like rope until you fan it out...CAREFULLY!  Ask me how I know!
Pearls are Zva Creative

Friday, April 4, 2014

Here's that Glitz paper again...

So, I said that I would show you the "front" of that lovely Glitz patterned paper that I used to make the flourish on the butterfly last week.  This card uses it. 


The color is actually in a gradient from light to dark on the paper...just gorgeous!
 
The die is a Die-Namics die from My Favorite Things, called Fancy flourish.  The tips of the swirls are accented with pearls from Zva.  And the ribbon is a luscious wide silk-look ribbon from May Arts.  All supplies are from A Stamp N Place in Loveland, CO.
 
Hope you enjoy this simple, but elegant card.  Have a great week and I'll have more for you next Friday. 

Friday, March 28, 2014

Design Team Butterfly

Terri (from A Scrap N Place) invited me to participate in her design team again...and of course I said "sure!".  She provided these two lovely dies.

The first is a yummy two-part butterfly die from Impression Obsession.
 
 
I've been searching for a butterfly...any kind works...but this one is just lovely.  The two parts to the die are the whole butterfly background, red in this instance, and the detail-cut upper layer, which I did in black.  The butterfly is popped up on dimensionals.
 
The second die is the Die-namics Fancy Flourish.  It's cut out of the back side of a Glitz Design patterned paper.  I'll show you the front side next week.  The chevron paper is Echo Park Hippity Hoppity.  There's cute bunny silhouettes on the reverse.
 
Supplies:
Cardstock in White, Red, Black
Designer papers from Echo Park and Glitz Design
Dies from Impression Obsession and Die-namics
Pearls are Zva Creative
Greeting from Stampin' Up
 

Monday, October 28, 2013

Poinsettia for Christmas

Here's my latest creation for the Bling Girls Design Team...


This is the Spellbinders Poinsettia Die and a collection of May Arts Ribbons, all of which are available at A Scrap N Place, in Loveland.

I didn't go watch Kittie's tutorial before I made this flower, and if I had, I probably would have put more shape in the petals.  But it has a good amount of thickness.  I'd want to use a dimensional envelope if I was going to mail it.

Supplies:
Cardstock in vanilla, red, green
Patterned paper from Authentique (Diverse)
Ribbons and trims from May Arts, along with Rhinestones for the flower center.

Tuesday, October 22, 2013

A "flocked" tree!

Years ago, when my hubby first started working at the nursery where he has worked for almost 40 years now, they would do flocked pine trees for Christmas.  They came in white flock...and...are you sitting down?...pink flock and blue flock.  They even set them up with rotating strobe lights.  If you remember those days, then you're as old as me!

But I have to admit that the white ones were okay.

Now, I wasn't thinking of them when I designed this card...I just thought of them now, when I was getting ready to do this post. 

I like using white on a color, and I thought I'd try a white diecut on a color this time.  And this is for the Bling Girls...


This was fun to make.  This is the 3rd or 4th time to use this die, and this time I wanted to see if embossing the tree in the green paper helped for placement.  It does.  But the embossing needs to be done very lightly or the paper creases.

Supplies:
Cardstock: Ivory, Green
Designer Paper: Making Memories Twinkle
Die: Impression Obsession Merry Tree
Accessories: Dimensionals, Rhinestones, Star Punch, Iridescent Embossing powder.

Monday, October 14, 2013

Another Bling Girls Project

It's Monday again!  I just can't believe how fast Mondays come around...and Fridays...and...  I think it's a sign of "advanced maturation"!  LOL!

 
Here's my next project for A Scrap N Place.  I just love the colors...red and vanilla always win in my mind.  I used only a portion of my Impression Obsession Merry Tree die, did some distressing on the edges of the layers, layered some ribbons, added some punched branches...but not too many...and some rhinestones. 
 
Supplies:
Cardstock: Red, vanilla, artichoke green
Designer paper: Making Memories Twinkle
Ribbons from May Arts
Die from Impression Obsession
Punch for the branches from Martha Stewart
Dimensionals

Monday, October 7, 2013

Bling Girls...first project

Just a bit of exciting news...I've been asked to be a guest designer with the Bling Girls of A Scrap N Place in Loveland.  Such a neat store.  They have DIES.  Oh, my, do they have dies!  Not a good place for me to go, for sure. ;)  They also have a wonderful selection of designer paper, some ribbons and trims, some nifty accessories...and BLING.  Of course, if you're Bling Girls, you have to have bling!

Well, Terri gave me a kit of papers, ribbons and trims, and bling...as well as a die...for my projects this month.  The die is the Impression Obsession Merry Tree. It was fun to work with but a bit of a challenge to glue down.

The first project I'm going to share with you is this one:
 
I kept to my preferred style, which is clean and simple, using bling and a ribbon to step it up a notch.  The star is punched, coated with versamark, and embossed.  And no stamping!  It's a fun card!
 
Supplies:
Designer paper: Basic Grey Jovial Crushed Velvet
Cardstock: White and Artichoke Green, Yellow-Gold for star
Ribbon: May Arts
Accessories: Rhinestones, Versamark, Iridescent Embossing Powder, Dimensionals


Tuesday, January 8, 2013

December Creative Crew Projects

This is my last month designing for the Creative Crew.  I've enjoyed it immensely, even if it pushed me far out of my comfort zone at times.

Here's my December creations.


My cute granddaughter is the one telling us "Olive You"...it was her mom's pun; I can't take any credit for that great one!

December Creative Crew Challenges

Here's the lineup of challenges for the December Creative Crew Gallery.

December is often a crazy, busy month for so many people! It can be a time of joy or a time of sadness, it is a time of family or of missing family. December is also national read a new book month, a fabulous campaign to promote and encourage reading something new. It is a perfect opportunity to break out of the habits and routines that we so often get comfortable with, and implement something totally different that will benefit both you and your family. This is the last month for our current crew and I'd like to make this month cozy, warm, comfortable, and relaxing, so my challenge to you this month is "Comfort & Joy"

CCREW1212DF, CreativeCrew, SUO or SUM -- DSP/Color Focus: In honor of "read a new book" month, show us how you use the First Edition Specialty Paper.

CCREW1212CF, CreativeCrew, SUO or SUM -- Catalog focus: The Cookie Press (don't panic if you don't have the Cookie Press, there is an option!) The old demo adage is "show it and they will buy it" so for me my December class is to use the Cookie press - BUT I'm also doing a cookie exchange. We'll make cookies with the cookie press, but each person is asked to bring just 1 dozen homemade cookies of their choice with them. So this challenge is, to go bake some cookies, use the cookie press if you have it, if you don't have it then make any cookie and then make a "recipe card" card & cookie plate to show a simple giftable and to share your recipe. (Let's face it, it's Christmas you're going to have to make a cookie or candy or dessert at some point!)

CCREW1212HF, CreativeCrew, SUO or SUM -- Holiday focus: Comfort Packaging, show us Big Shot boxes, the Kraft gift boxes (pg 161) show us treat packaging (page 15 of the mini) show us bags & Paper Bows!

CCREW1212SF, CreativeCrew, SUO or SUM -- Scrapbook focus: In the spirit of keeping it simple, show us a page made with the Simply Scrappin' Kits OR use the new Divided Page Protectors. Your choice of colors, themes, and styles!

Hope You Can Cling To... Part 4

This should be the last of my HYCCT challenge creations.


Great fun, this month of challenges has been.

Hope You Can Cling To... Part 3

Another batch of HYCCT cards:


Stay tuned for the last batch...and check out my gallery at SCS (see sidebar) if you want details.

November Creative Crew Projects

Here's the fun projects I did for the November challenges.


Loved doing these projects. The photo cube was for my pastor's wife...filled with dark chocolate and snuck onto her desk. Her family's pics were on the cube.

November Creative Crew Challenges

Try these on for size...

"It's beginning to look a lot like Christmas everywhere you go!" My mom's favorite Christmas song reminds me that we need some Christmas projects, so let's get busy planning our holiday workshops. This month, let's focus on making projects we can use in our holiday workshops, stamp camps and classes!

CCREW1112DF, CreativeCrew, SUO or SUM -- DSP/Color Focus: The Festival of Prints stack in the Holiday catalog is a great size and is very versatile! If you don't have the DSP, use the colors: Cherry Cobbler, Early Espresso, Island Indigo, Crumb Cake, Lucky Limeade and Very Vanilla.

CCREW1112CF, CreativeCrew, SUO or SUM -- Catalog focus: For the holidays, I'm all about the glitz! Let's see what you can do with glitter, shimmer paints, smooch spritz, shimmer paper, shimmery white cardstock and even glimmer brads!

CCREW1112HF, CreativeCrew, SUO or SUM -- Holiday focus: Make a gift card holder. Can we ever have enough templates for these? Need one to get you started? Here's an oldie but a goodie: Stamp on This: Tis the season to give gift cards

CCREW1112SF, CreativeCrew, SUO or SUM -- Scrapbook focus: Create a photo cube using the SCS tutorial. You could easily do this in a class or use it as a hostess gift!

I had some fun with some of these challenges!

Hope You Can Cling To... Part 2

Here's another batch of the cards I sent to MD Anderson.


Hope you enjoy this batch. Just a reminder to visit my SCS gallery (see button on sidebar) to see details for any of these cards.